

A Beginners Guide to Exhibiting at the Caley Spring Show – Part One
Part One – The Bulb Planting Workshop
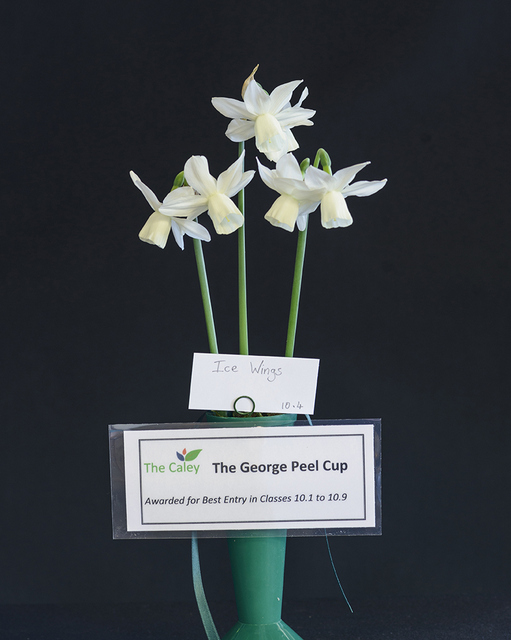
At the Caley’s annual Spring Show in 2014, as I was wandering around admiring the beautiful exhibits, two questions kept popping into my head. How on earth does one get bulbs to bloom in peak condition on the precise date of the show; and then how does one transport them to the Botanics without them being ruined?
I promised myself that I would discover what magic was involved and that the next year some of my own blooms would be on show!
So last year, in Spring 2015, I entered some of the novice categories. The Friday afternoon spent setting up with other exhibitors was wonderful fun, with lots of experts around to help with advice and secret tips. There is great banter between age-old rivals and a lovely spirit of competitive camaraderie.
I was amazed and delighted to actually win something too! I got a second and third place and, most special, a ribbon for the best Irish-bred daffodil by a novice. I was such a novice that I didn’t even know that any of my bulbs were Irish-bred and completely missed the ribbon when I went to look at the results! Spring 2016 was even better as, due to the poor number of entrants, I won the novice cup. This I did notice!
So how did I do it? How did I find the answer those two questions I asked at the start of my journey back in Spring 2014? How did I capture that magic of achieving peak condition for the exact day of the show?
Well, with great guidance from The Caley every step of the way, of course!
The first step in that guidance is the Bulb Planting Workshop every October at the Botanics nursery. This is a must if you aren’t entirely sure what you are doing! I knew about forcing hyacinths for Christmas but that’s about it and I’d never actually done it because I hate the smell of hyacinths!
The workshop is fantastic value for money as it includes all your compost, pots, bulbs and labels plus use of the plunge bed at the Botanics nursery for four months. It’s so good that lots of members go every year!
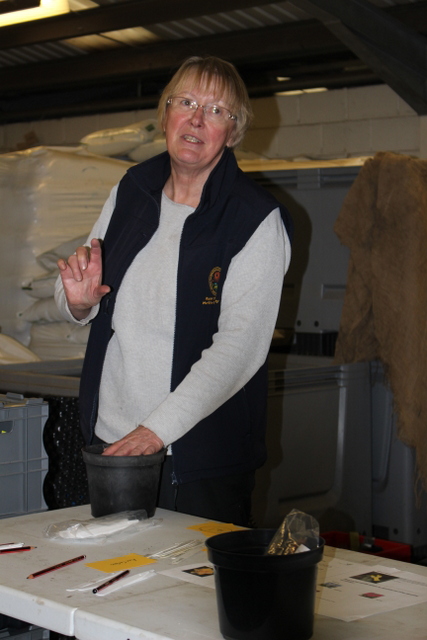
This year the workshop was led by past president Pam Whittle.

Last Saturday about twenty of us were spaced along the potting bench, some were regulars who enter every year and some were complete novices like I was myself a couple of years ago. It is all very easy and fun, with tips and pointers g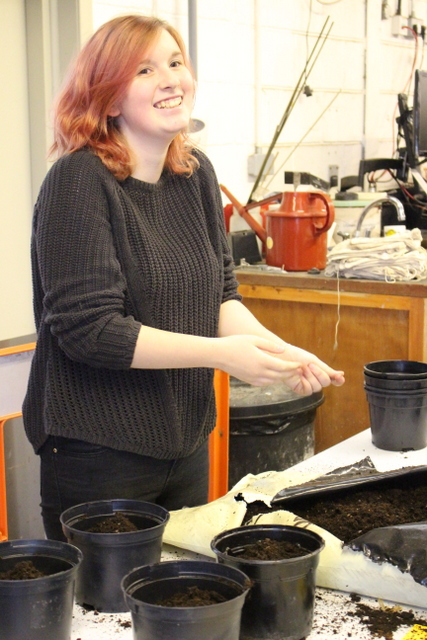 iven along the way.
Charlotte here is already a dab hand and was potting up bulbs for other people, who hadn’t been able to make the workshop.
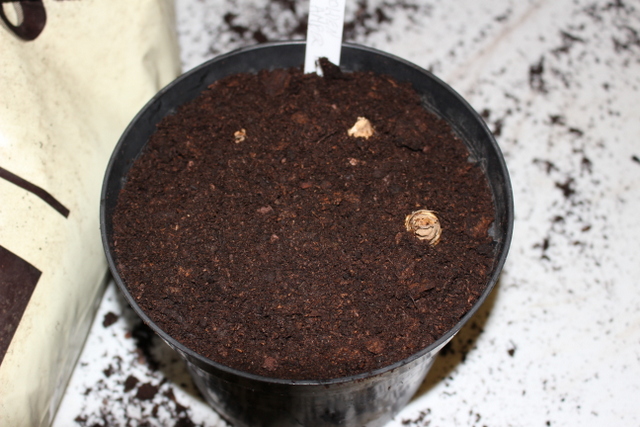
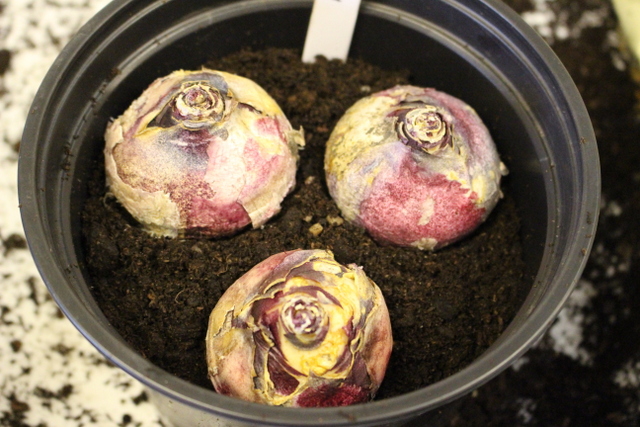
Pam explained to fill our 2 litre pots about ¾ full of compost, so the bulbs will be almost covered once the compost is added on top of them. We used bulb compost but multi-purpose is fine too.
Remember to place the bulbs the right way up and, to prevent rotting, it is best to ensure the bulbs are spaced so they do not touch each other. The most vital instruction is to label your pot with the variety you are planting!

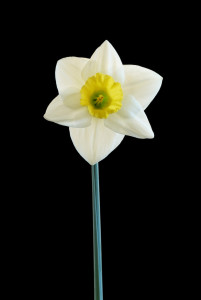
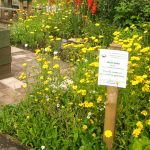
For daffodils it is standard practice to plant five bulbs per pot. We each planted four pots of different varieties of daffodils – they were Thriplow Gold, Golden Amber, Madam Speaker and Rapture.
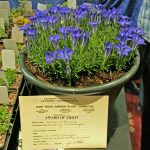
For the hyacinths, it is standard practice to plant three bulbs per pot. This year we had a choice of two varieties – Jan Bos or Delft Blue.
For the tulips, it is standard practice to plant six bulbs per pot. I still haven’t figured out why, as the show schedule for a pot of tulips is for five, so one always has to be cut away later. This year we had a choice of two varieties – Fur Elise or Albert Heijn.

The pots are all then placed on a trolly to be moved to the plunge bed.
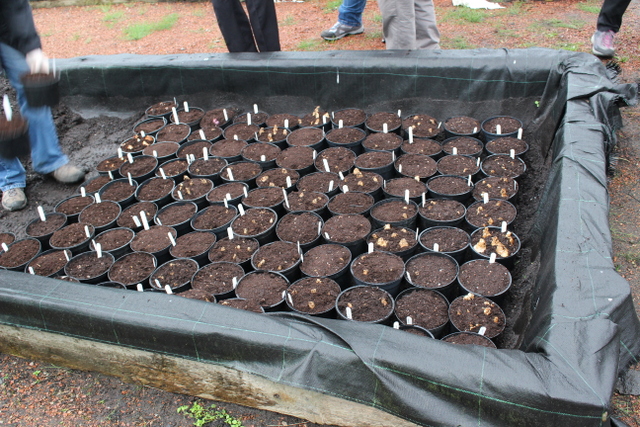
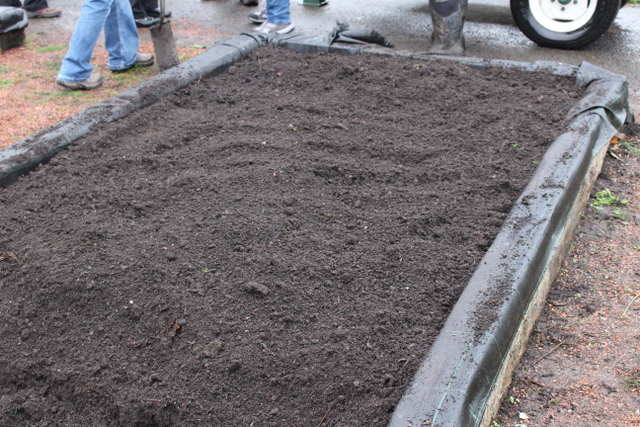
The plunge bed is any bed (in this case a raised bed) which has had the topsoil dug away to leave space of twice the depth of the pots. The pots are placed in and then covered up with the topsoil, to cover them to about the same depth as the depth of the pot. This is to keep light out, to force them to grow up straight and strong.
If you don’t have space for a plunge bed, then there are lots of other ways to do this stage. The aim is to keep the pots cold and dark, so covered with black plastic in a shed or garage or corner of a garden does just as well. A past competitor even found a pot he had forgotten under a hedge, and went on to win with it!
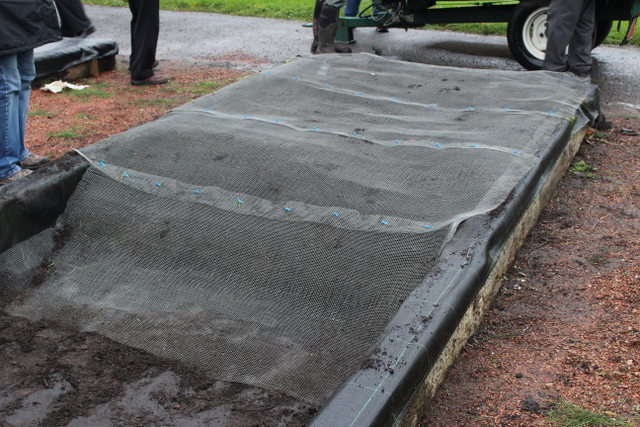
A must at this stage is to protect from mice, who will love to munch on those juicy bulbs over winter. We used heavy wire mesh but a roof tile or chicken wire works well too on individual pots.
With the bulbs put in their cosy home for winter, now is the time to start browsing the schedule for the Spring Show. This gives an overview of each class, the rules and what the judges are looking for. You can find it on the Caley website.
Initially this document can be somewhat bamboozling as there are over one hundred possible categories to enter. It’s all rather overwhelming for a novice especially if, like me, you didn’t know there were different types (called divisions) of daffodil depending on their form.
I’d advise you to skip straight to the section titled “Novice/ Beginner Class“. If you are under sixteen then skip straight to the section titled “Junior Classes“. This is the section which will have other competitors at about the same level as you are. If you have attended the Caley bulb workshop in October, you will have enough bulbs to enter most of the classes in this section.
There is also a separate competition for schools to enter, with dwarf daffodils in smaller pots.
All we have to do now is wait until about Valentine’s Day for the second part of the bulb workshop, when we will lift our bulbs to take home and grow on. The February workshop includes a talk and demonstration on how best to care for your bulbs and how to get to that magic point of peak condition on the precise day of the judging!
Until then,
Siobhan

